Set up your eBanking solution
Install Xtbc eBanking
Select Extension Management -> Extension Marketplace and search: Xtbc eBanking to download and install the App.
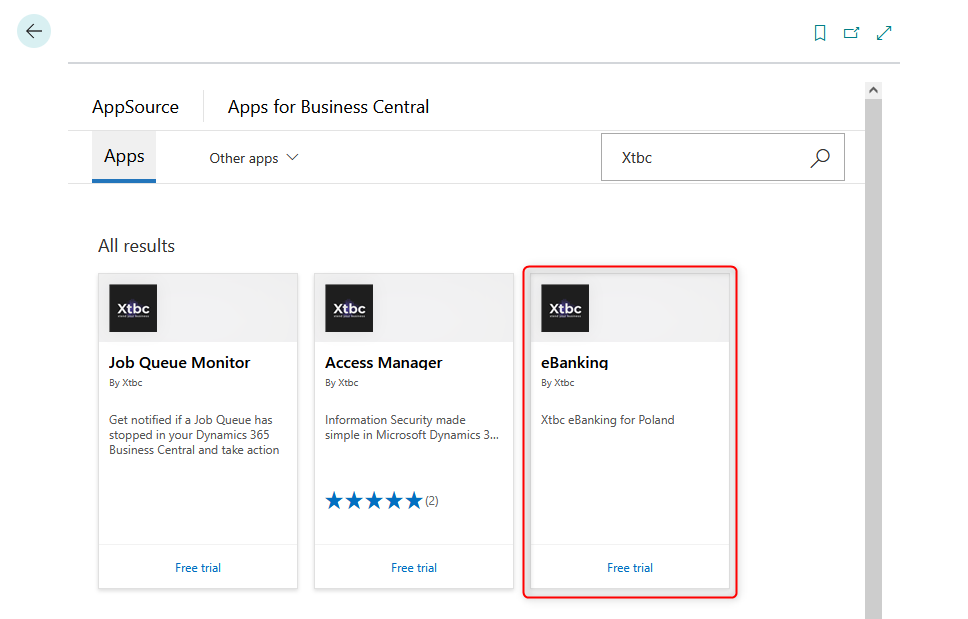
Xtbc eBanking has been installed.

Register subscription of eBanking
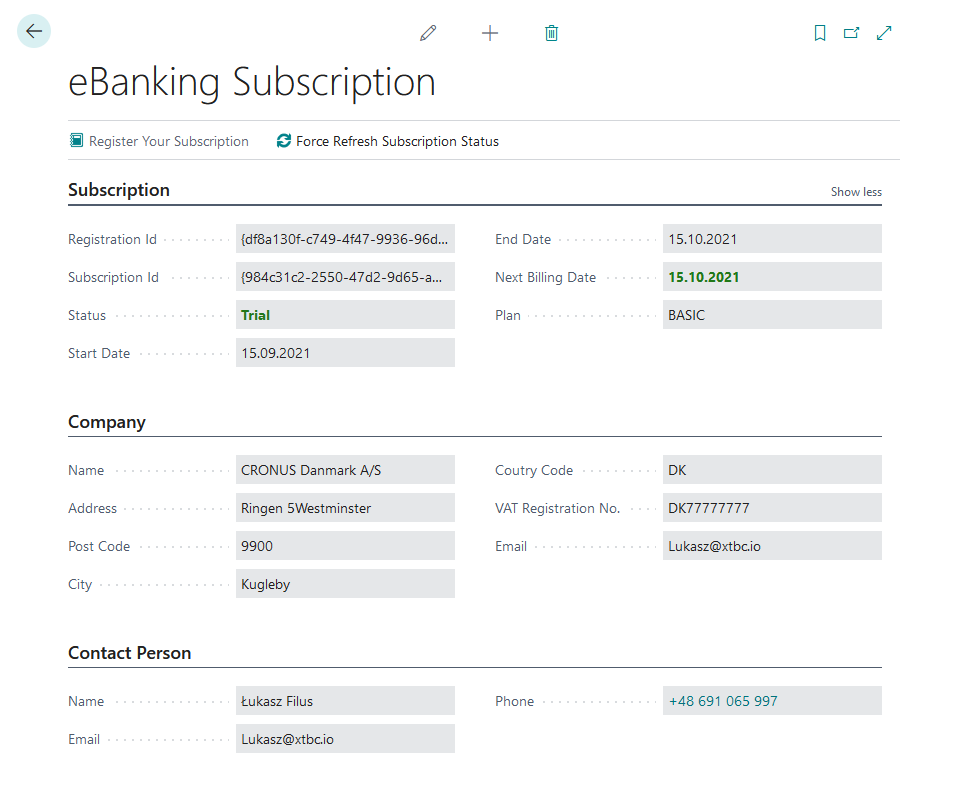
Search the eBanking Subscription page and register your subscription.

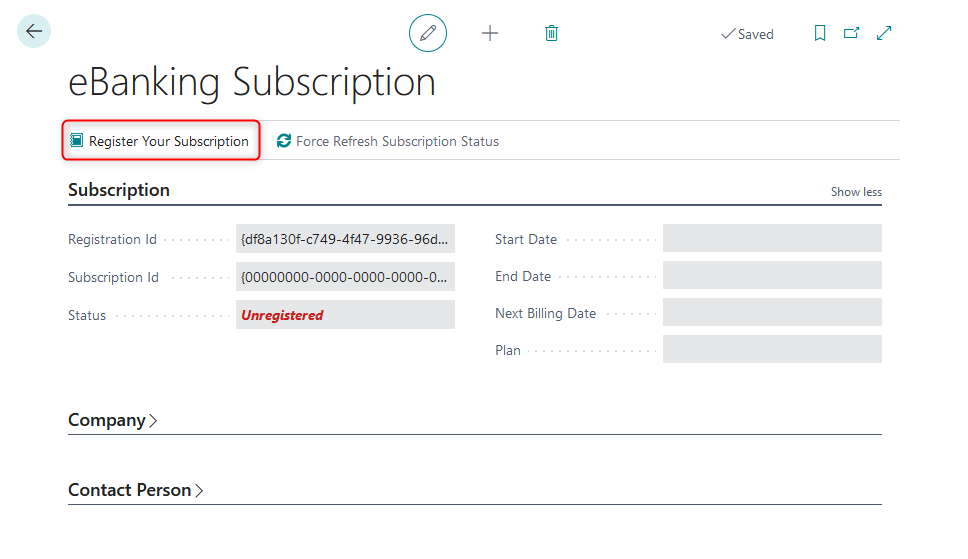
Accept the Terms & Conditions and optionally Marketing Communication.
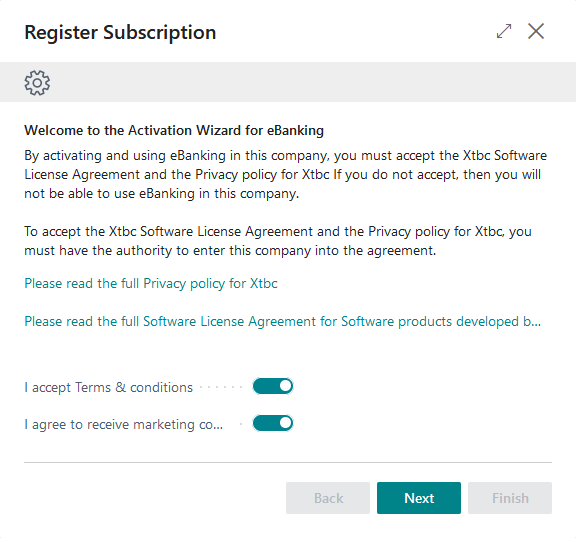
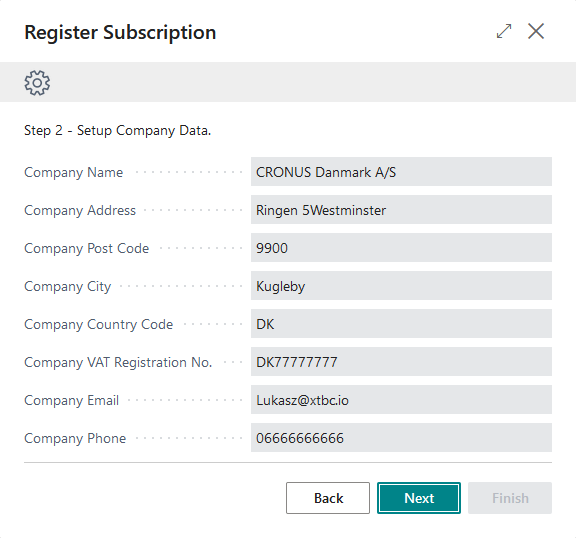
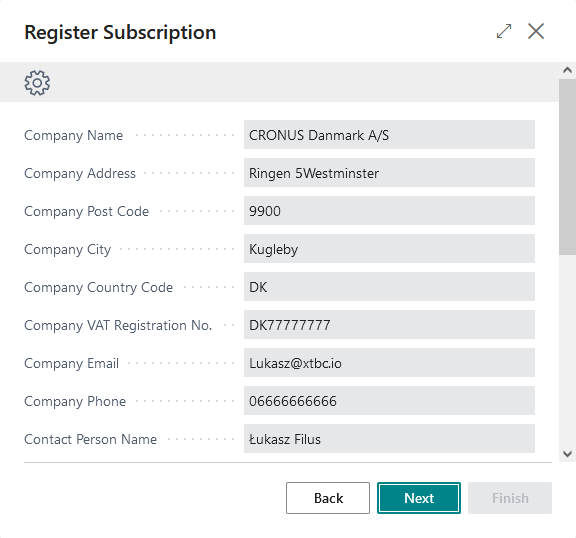
The wizard will collect company data from BC Company Information.
On the next step please put the contact person data for communication and billing.
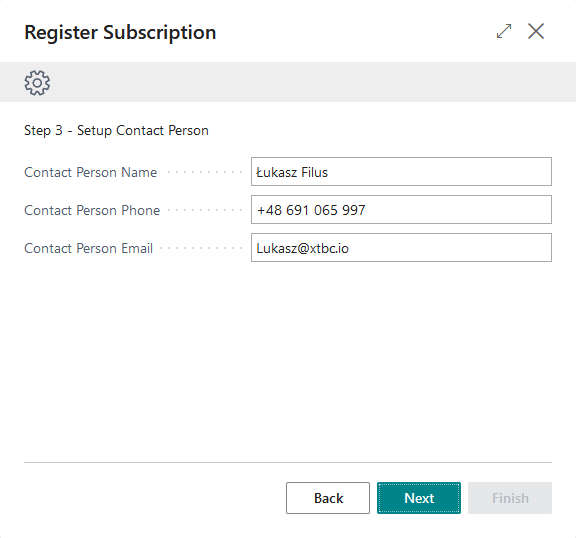
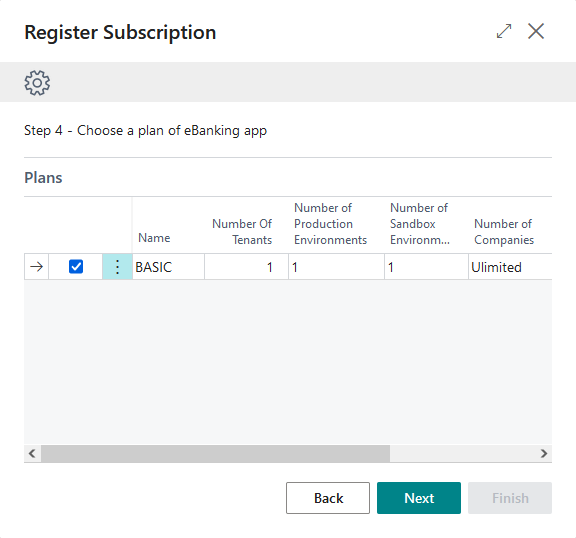
On the next step select plan you want to subscribe. Subscription is only for one Production Environment, rest unlimited.
On the last step you can review all data collected by wizard, which will be used for subscription registration.
Confirm to finalize registration.
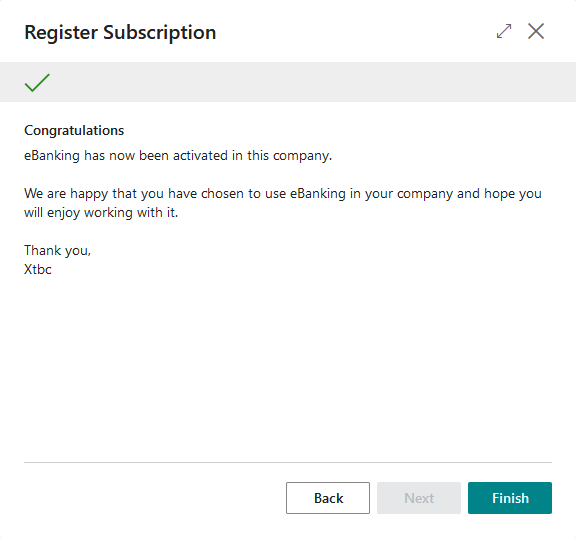
When wizard is finished, role center will be reloaded to refresh subscription status.
Set up eBanking Journals for payment export
Note
The eBanking Journal works similar to standard BC journals, it consists a Journal Template and a Journal Batch.
Set up eBanking Journal Templates
Search the eBanking Journal Template and open the page.

Fill in the template name and description and link with Bank Account for each template.

Set up eBanking Journal Batches
Search the eBanking Journal Batch and open the page.

Select a Journal Template Name, fill in the batch name, and set the rest parameters according to your payment processing rules.

Set up eBanking Statements
Search the eBanking Statements Setup and open the page.

Select the Bank Account, Import Format, and Journal Template and Batch to which banking transactions will be transferred after import.

Set up eBanking Operation code mapping
Note
Most banks use operation codes in their bank statements, which allows codes to be mapped to accounts.
Search the eBanking Operation code mapping and open the page.

Set up the operation codes to specific Account by selecting Account Type and Account No.

Now you are ready to export payments and import bank statements.