eBanking user scenarios
Prepare and export bank payments
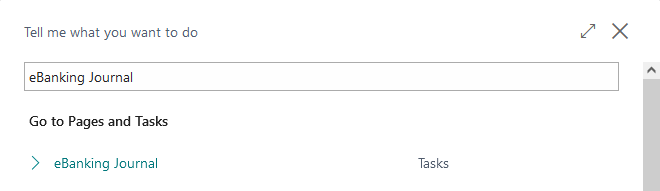
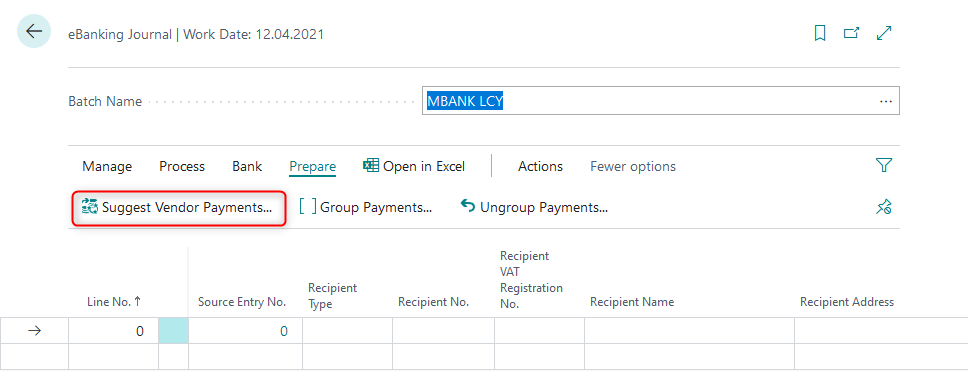
Search the eBanking Journal page and open the journal.
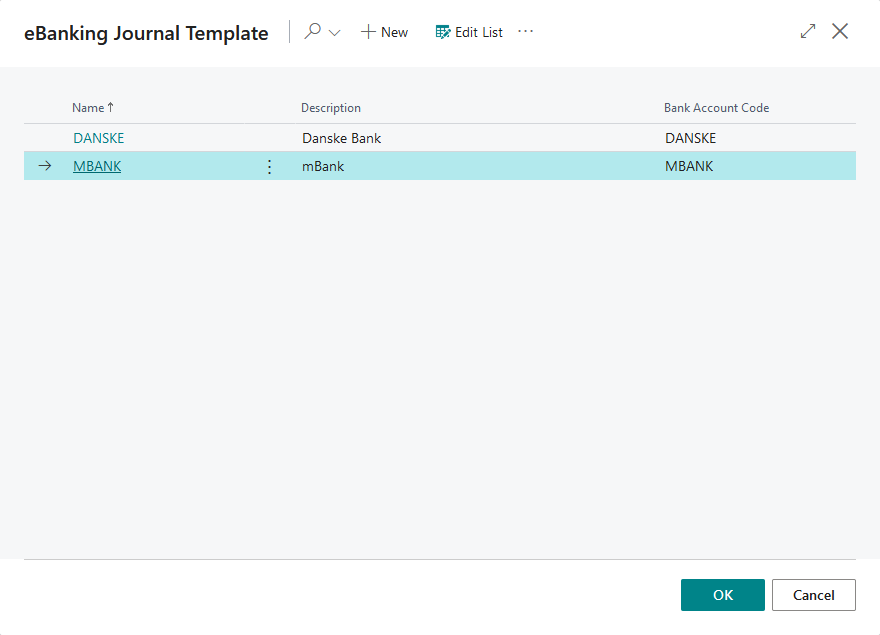
Select Journal Template (if you have more than one) you want to use.
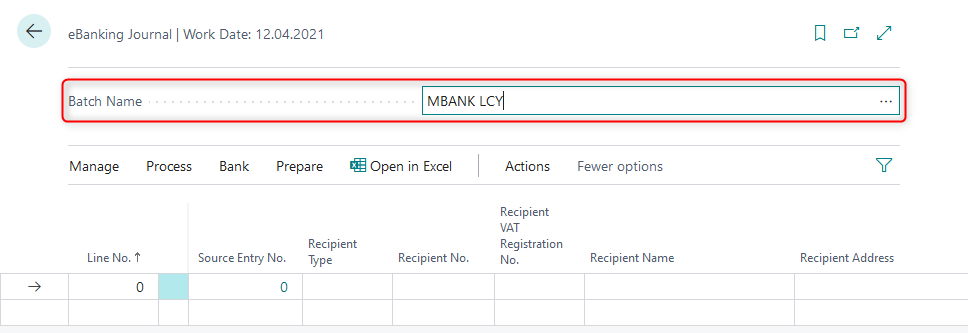
Select Journal Batch you want to use.
Suggest vendor payments
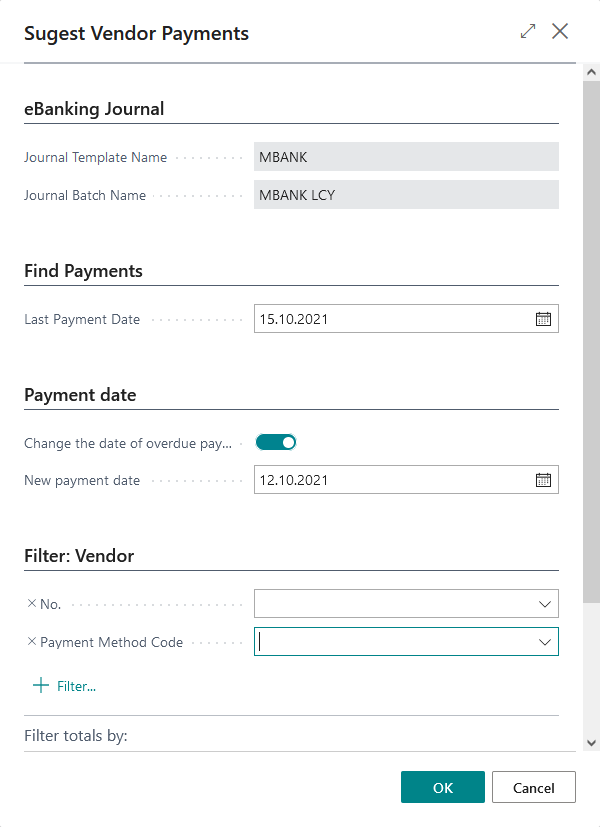
Use the Suggest Vendor Payments action and select options to fetch the data into eBanking Journal, based on open vendor ledger entries.
On the request page select:
- Last Payment Date, to limit open vendor ledger entries by Due Date
- Change the date of overdue payment, to replace Due Date with new date for overdue payments
- Optionally use filters to limit vendor ledger entries by other criteria
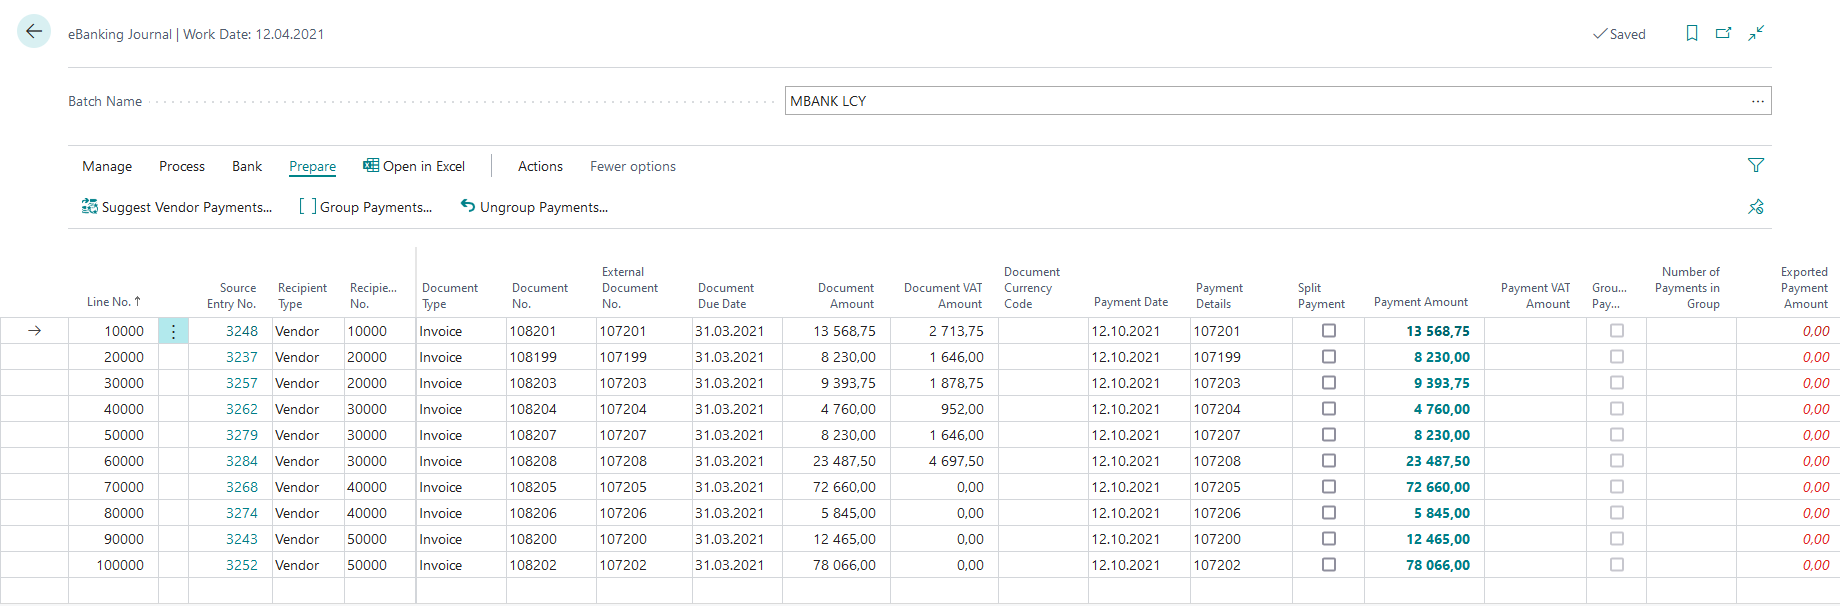
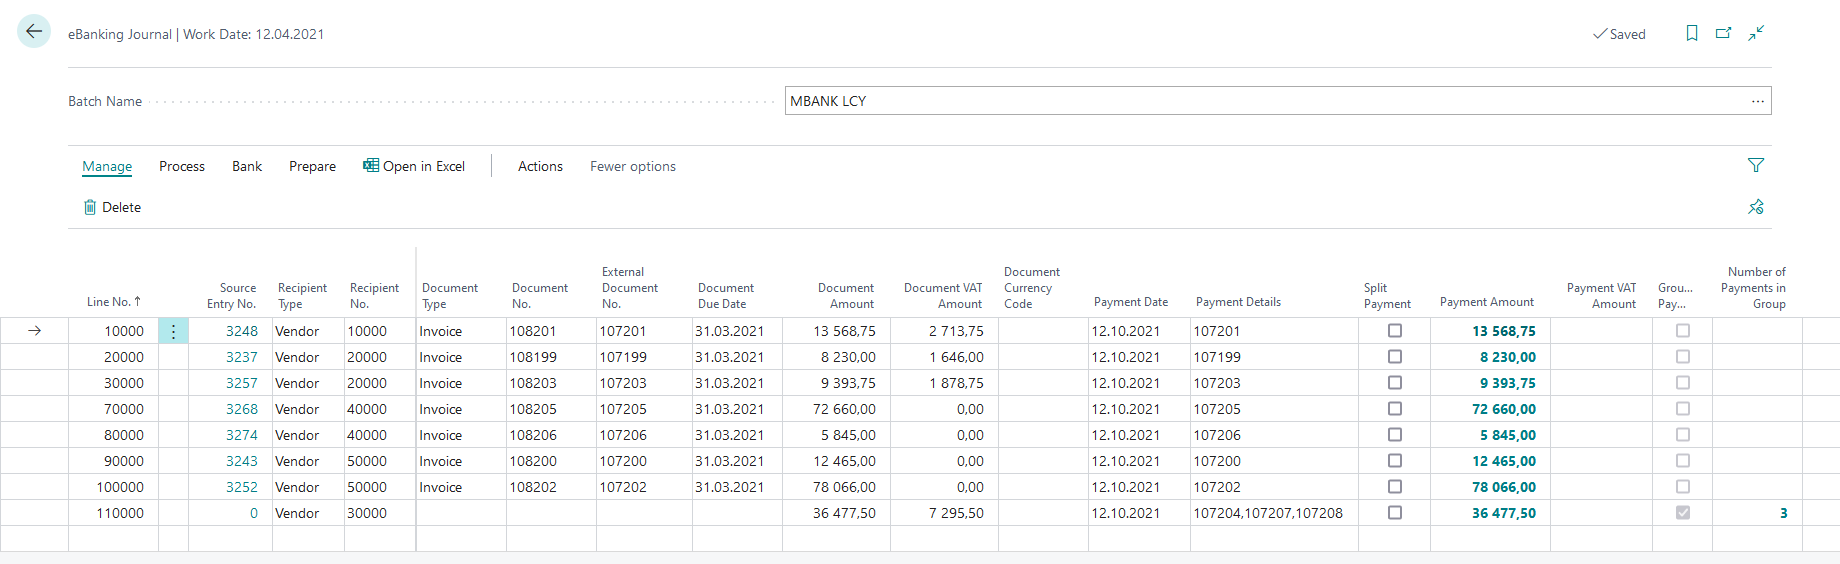
After the vendor payments are created you can adjust the data, including change the Payment Amount or Payment Date or set a Split Payment.
Group / Ungroup payments
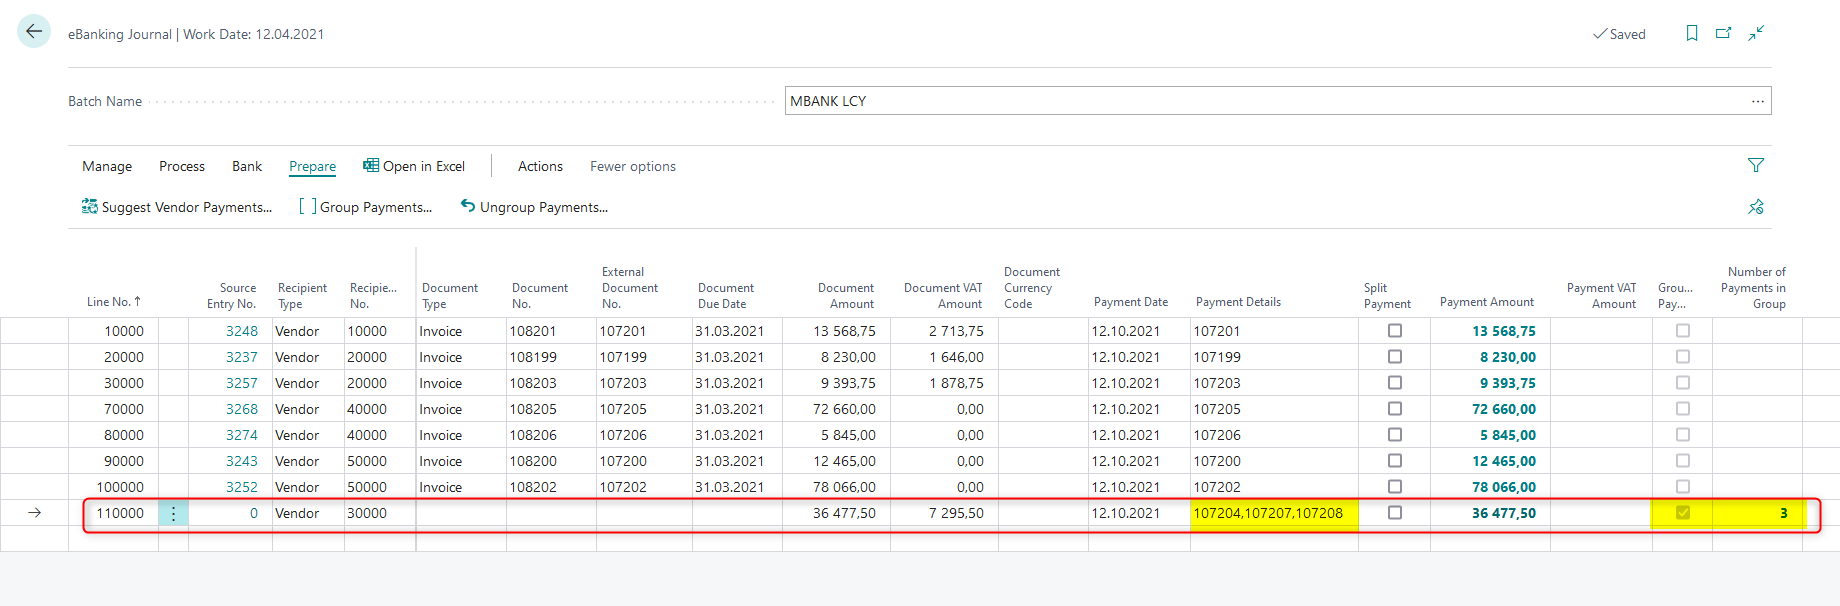
If you have multiple payments to one vendor, in the same currency and to the same bank account, you can group them into one bulk transfer. To group payments select the lines you want to group and use action Group Payments.
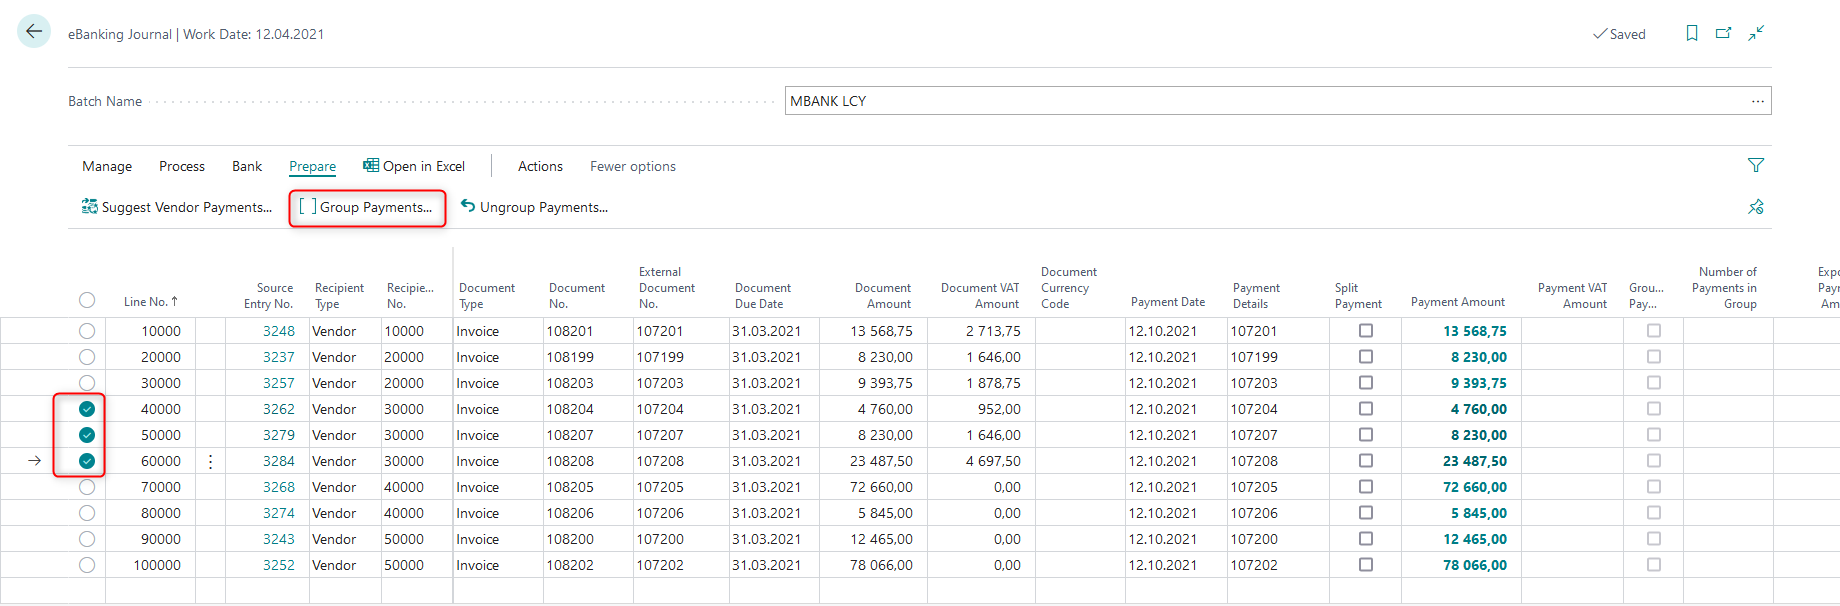
After grouping the payments, a new line is added based on the combined payments.
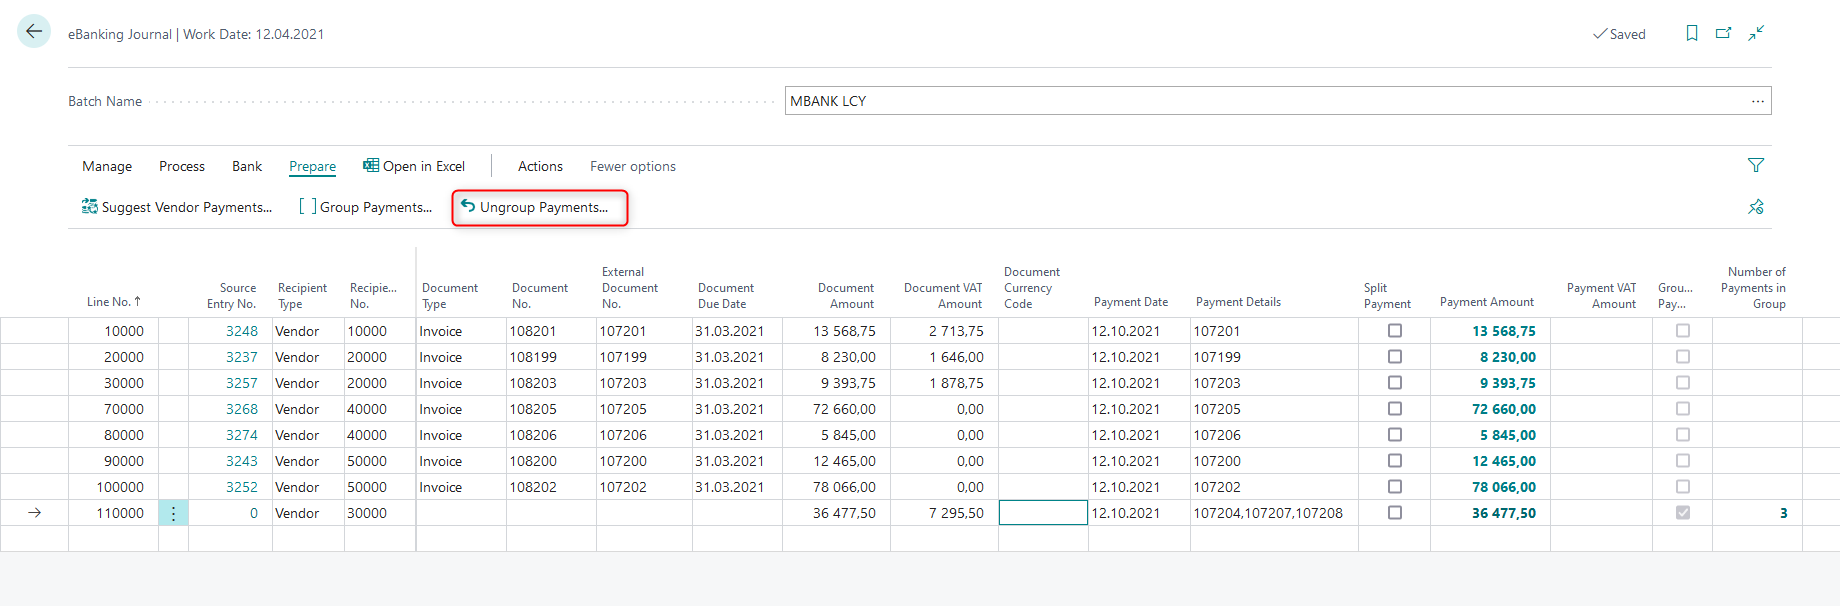
You can also ungroup payments if you choose to send them separately as individual payments. Select a grouped payment and use the action Ungroup payments. The system will restore the original lines before grouping.
Export payments to Bank
When you are ready to export payments to the bank, use the action Export.

The system will create the file and start downloading. Use the Save File option.
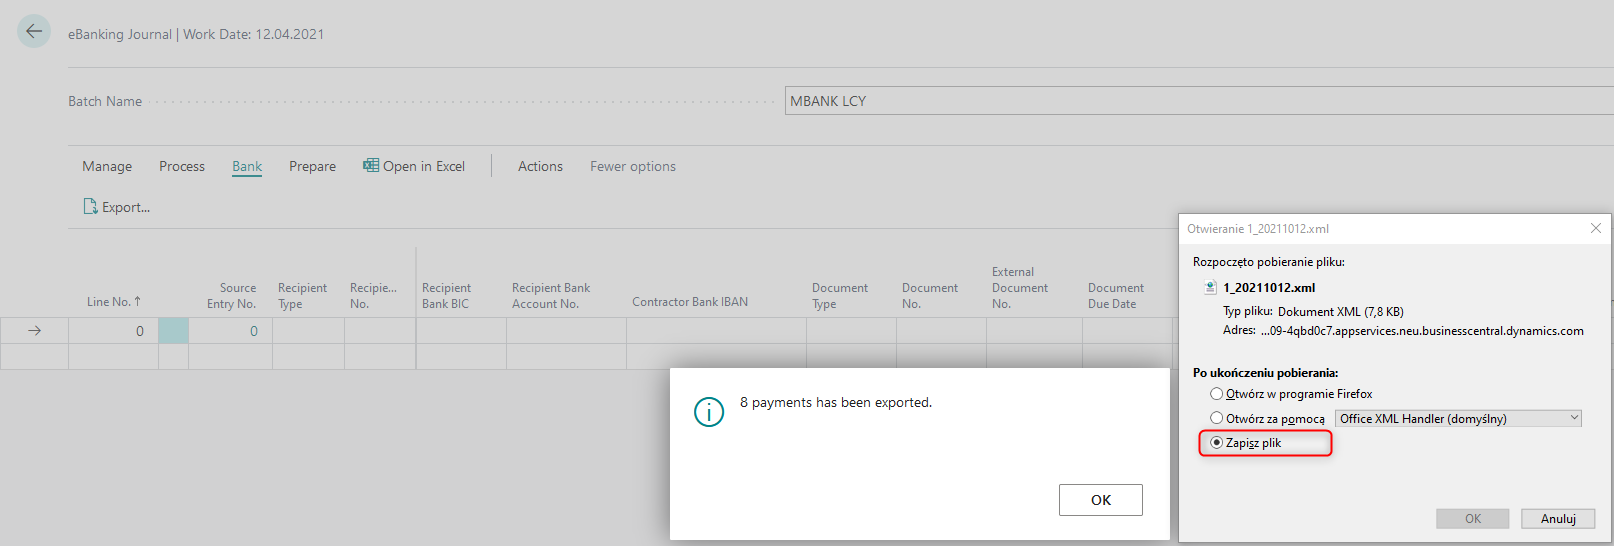
Import the created file to the banking system in order to make payments.
Restore payments from archive
After sending, the payments are stored in the archive. It is possible to restore payments from the archive, if there is a need to regenerate the file, e.g. after correcting the data in the journal.
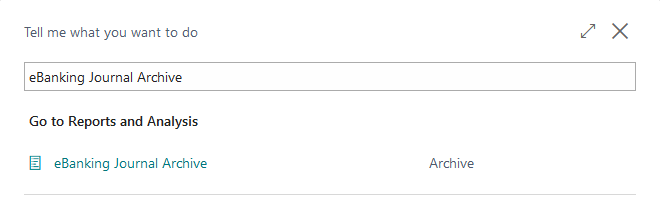
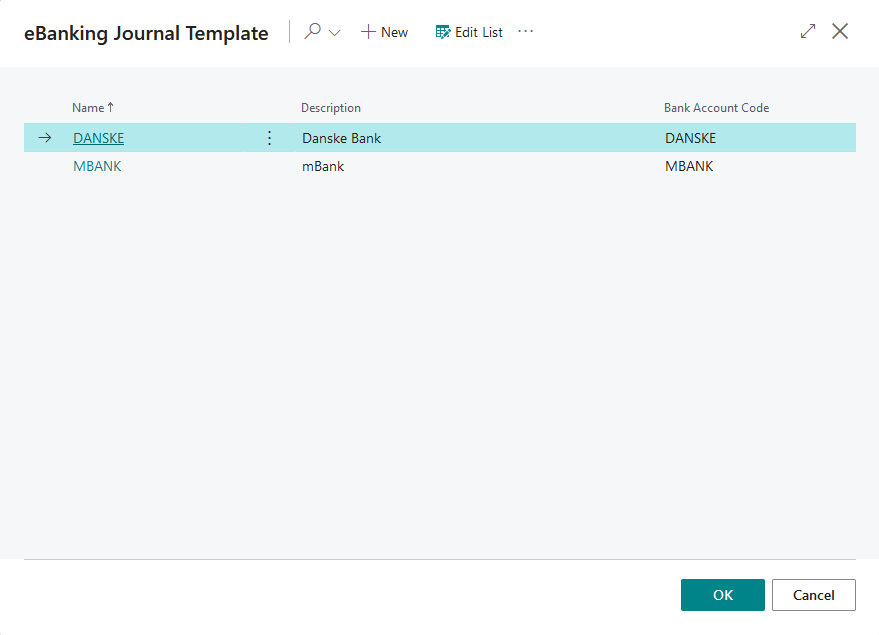
Search the eBanking Journal Archive and open the archive.
Select the eBanking Journal Template, if you have more than one.
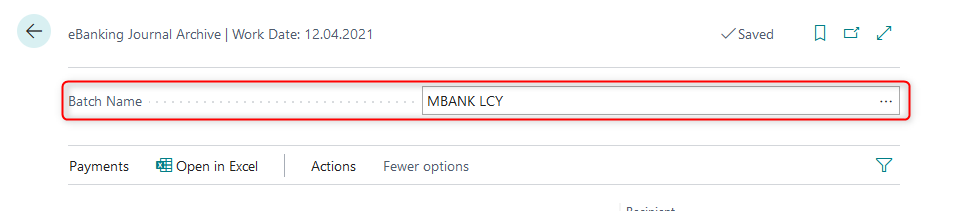
Select the Batch name you want to use to restore payments.
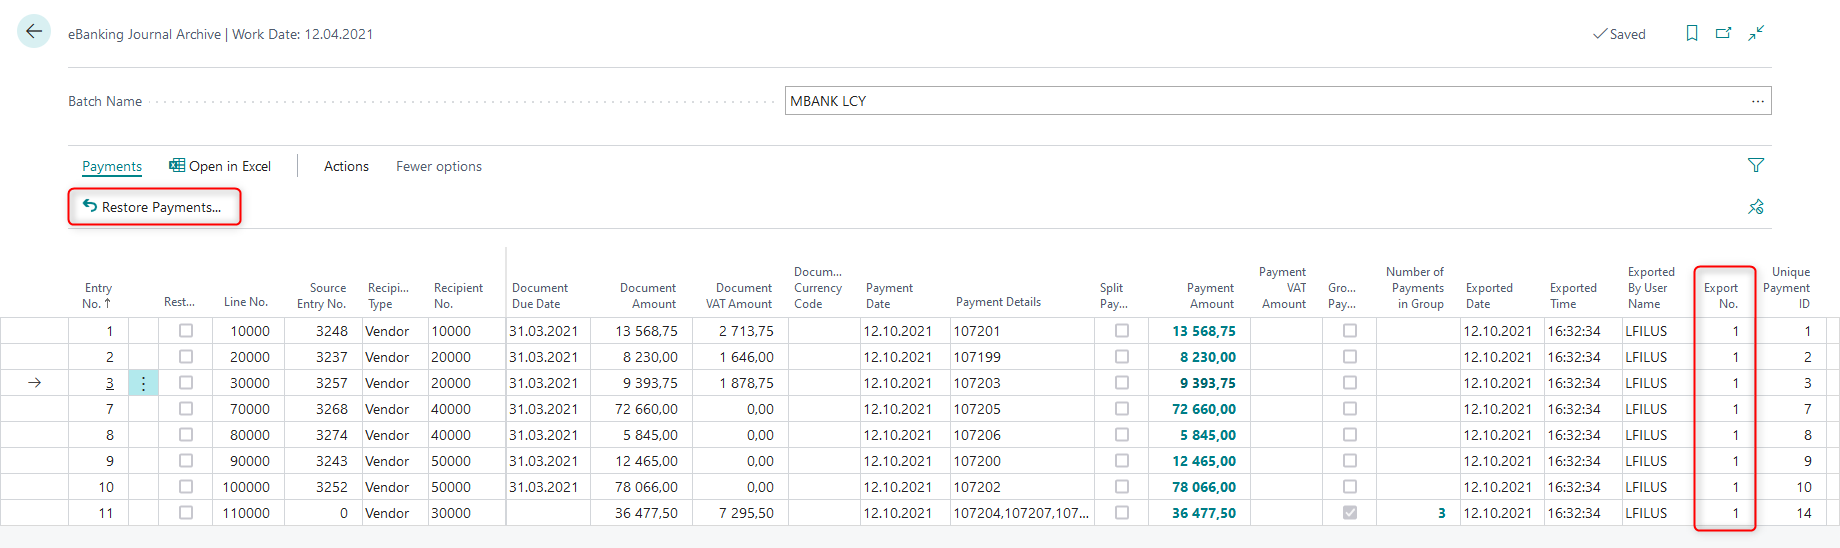
Select one of the payments from the export number that you want to restore and use the action Restore Payments.
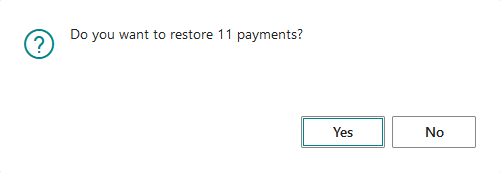
After confirmation, system will transfer all payments within selected Export No. to the eBanking Journal for reprocessing.
The archived payments will be marked as Restored to keep your data tracking information.

Payments are back in the eBanking Journal ready to be processed again.
Import bank statement
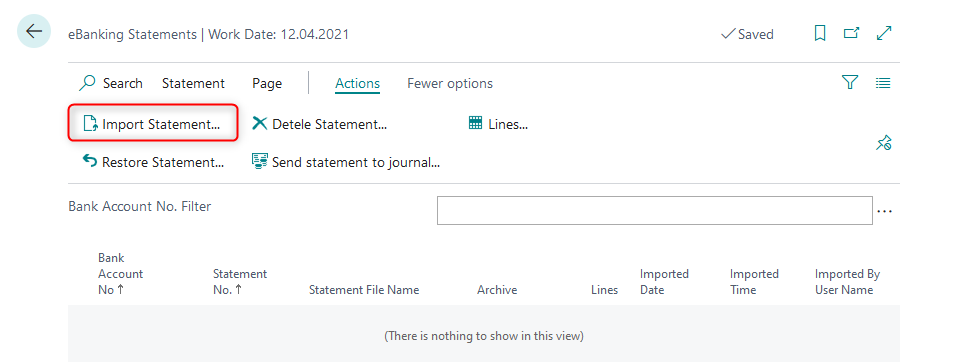
Search the eBanking Statements and open the page.

Use the Import Statement action.
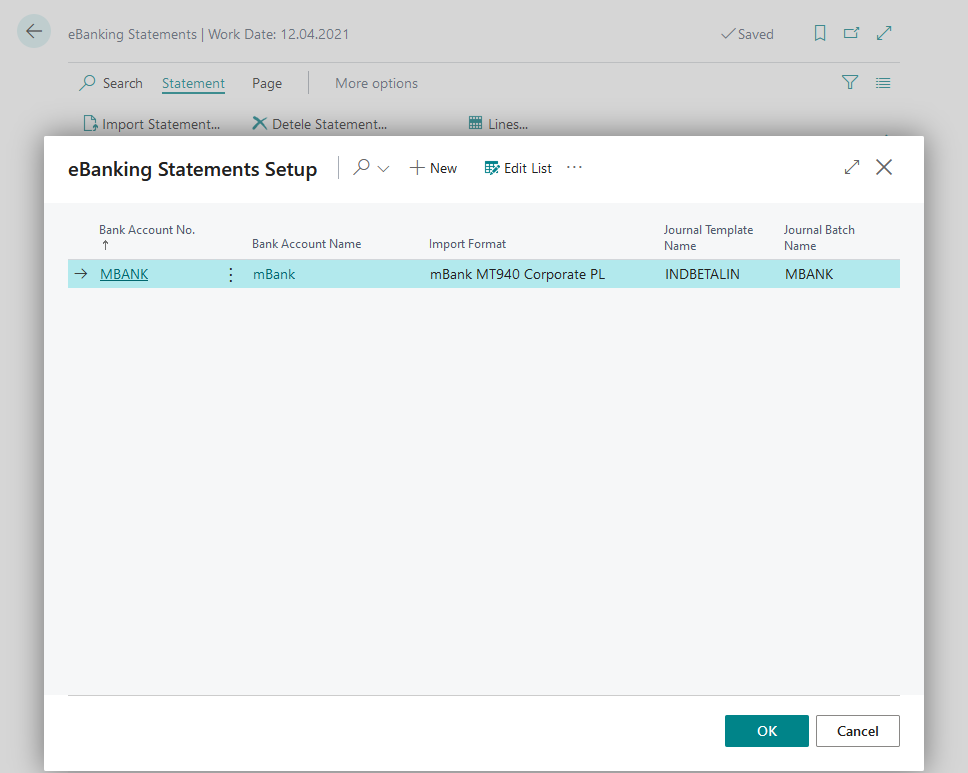
Select the bank account for which you want to import the bank statement.
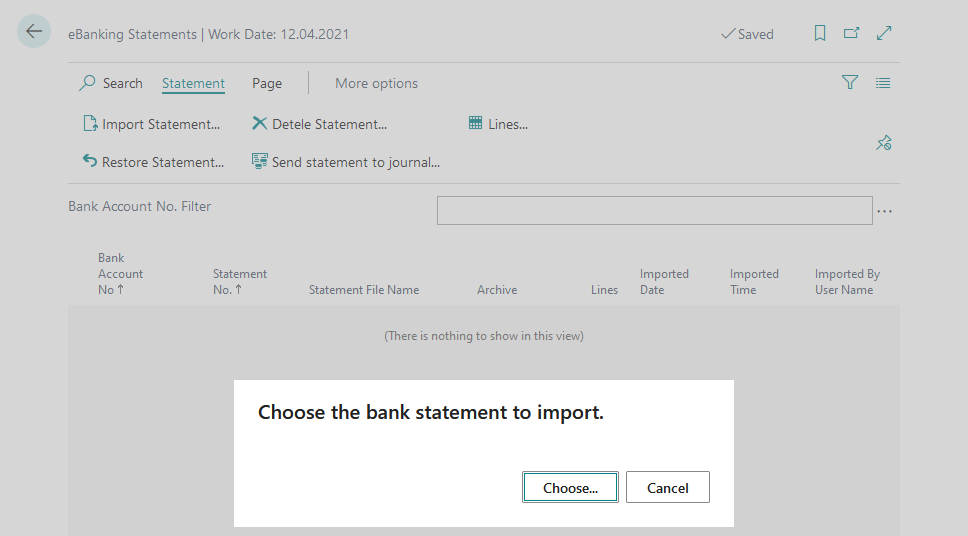
Choose the file with bank statement.
After the file is loaded, the statement appears on the list. You can check the statement lines.

All statement lines has to be mapped to Account Type and Account No. before processing. System will recognize Vendors and Customers, based on their Bank Accounts.
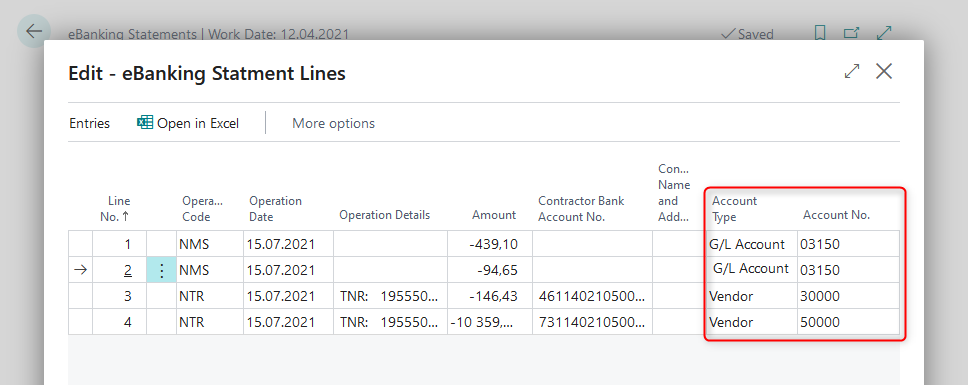
After mapping the statement lines to the accounts, you can transfer statement to the Cash Receipt Journal. System will transfer statement to the journal selected in eBanking Statements Setup.

Important
During transfer bank statement to the Cash Receipt Journal system will apply Journal Lines with open vendor/customer ledger entries, based on External Document No.
Post bank statement
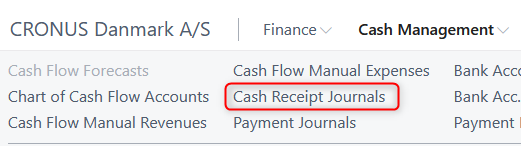
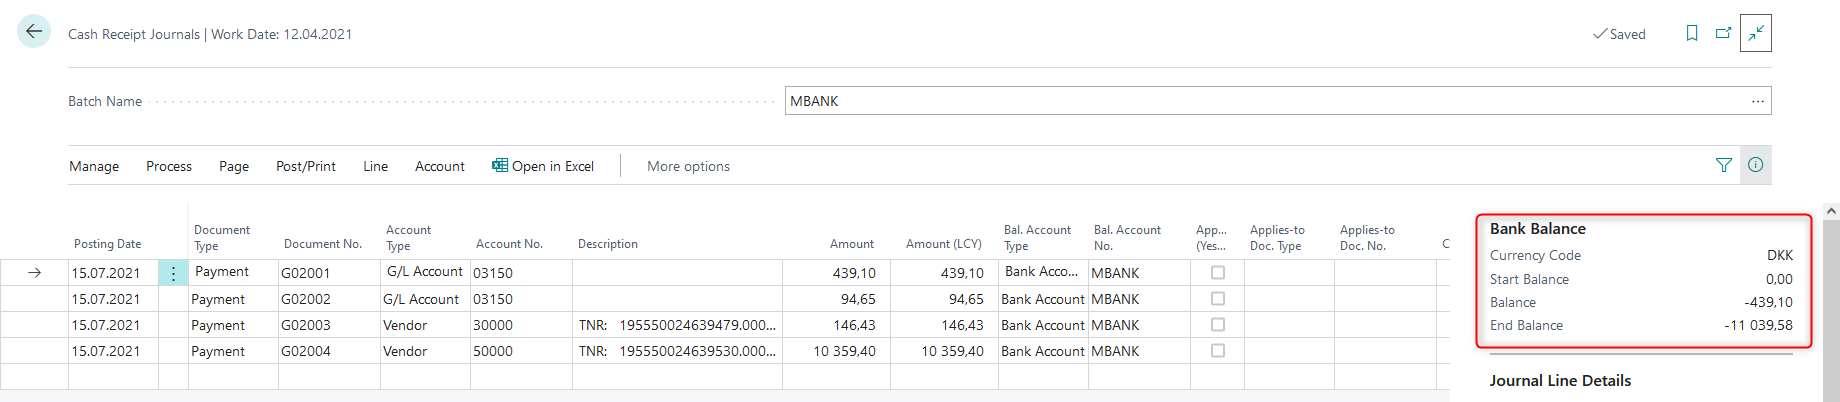
Open the Cash Receipt Journal to post the bank statement.
Before posting bank statement, you can verify the opening balance and closing balance on the bank statement and the balance of the current line. This feature makes it easier to validate your bank statement.
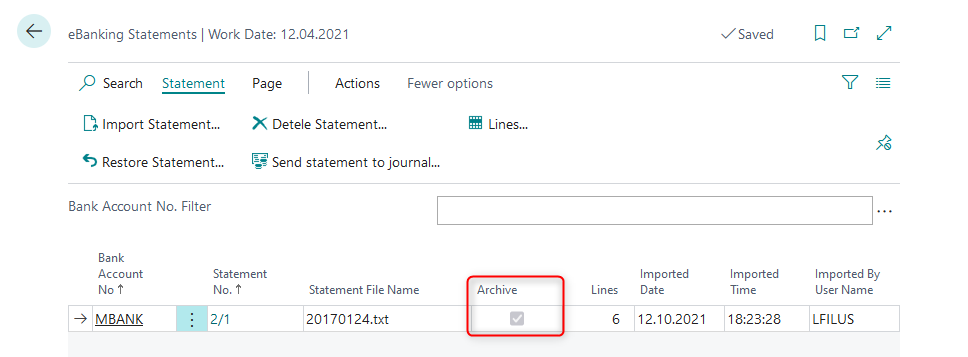
After sending bank statement to journal, the statement is marked with Archive flag.