Job Queue Monitor user scenarios
Install Xtbc Job Queue Monitor
Select Extension Management -> Extension Marketplace and search: Xtbc Job Queue Monitor to download and install the App.
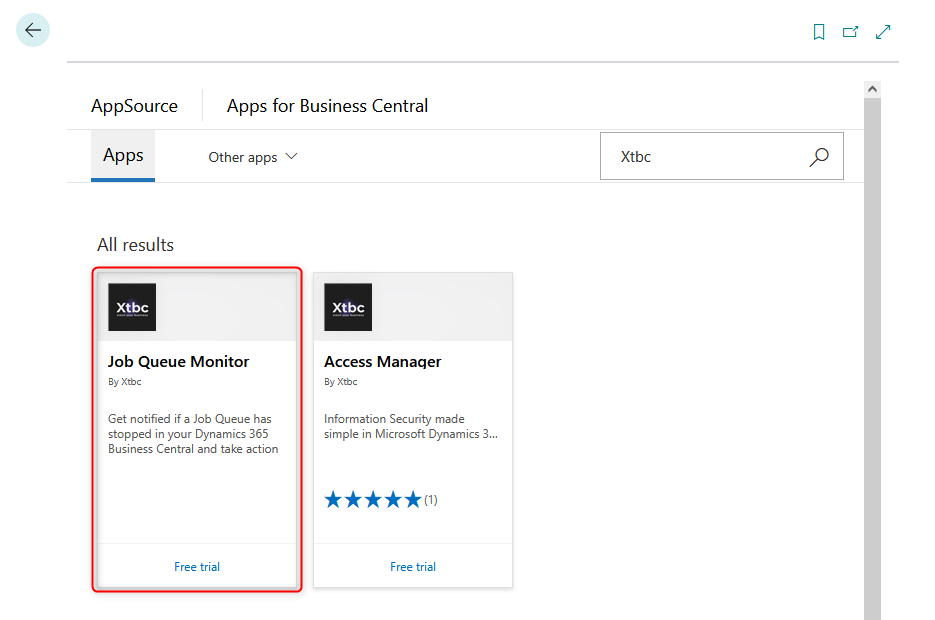
Xtbc Job Queue Monitor has been installed.

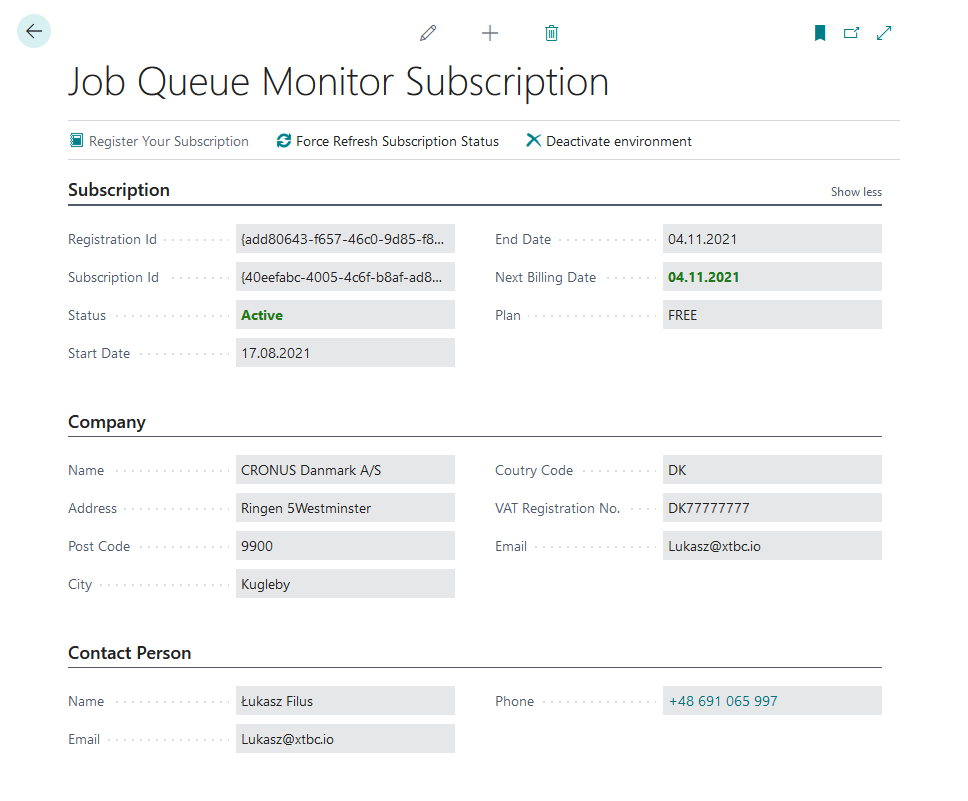
Register subscription of Job Queue Monitor
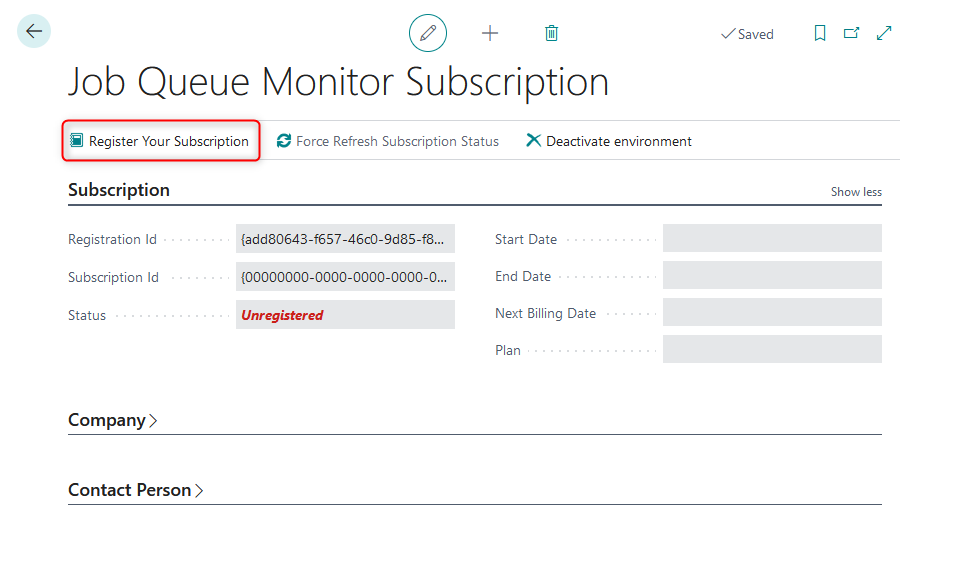
Search the Job Queue Monitor Subscription page and register your subscription.

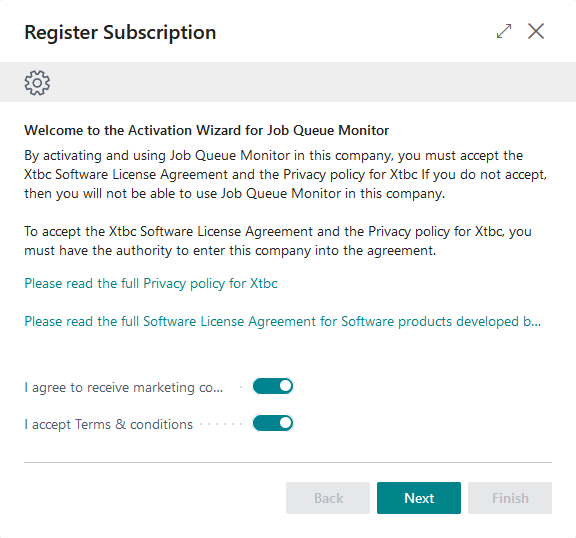
Accept the Terms & Conditions and Marketing Communication.
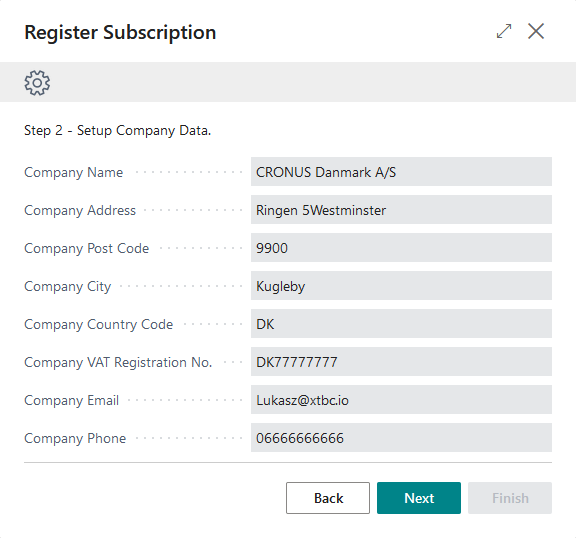
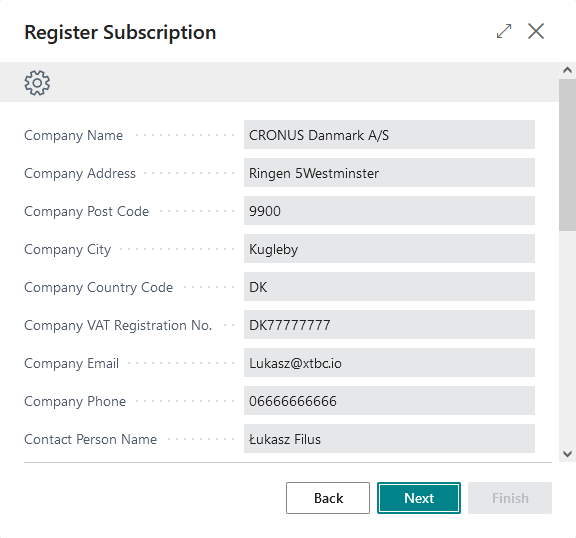
The wizard will collect company data from BC Company Information.
On the next step please put the contact person data for communication and billing.
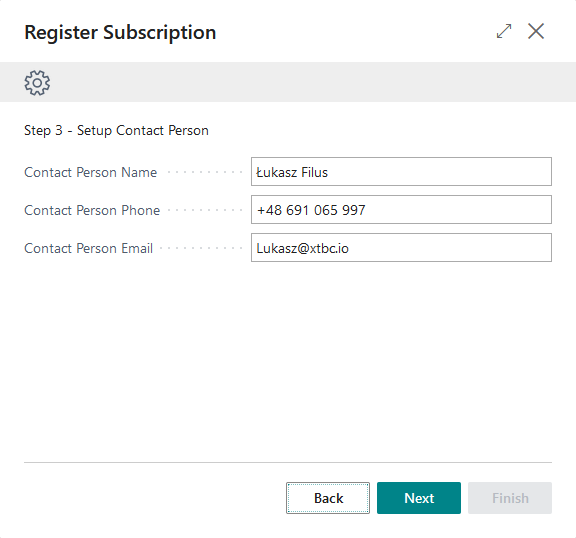
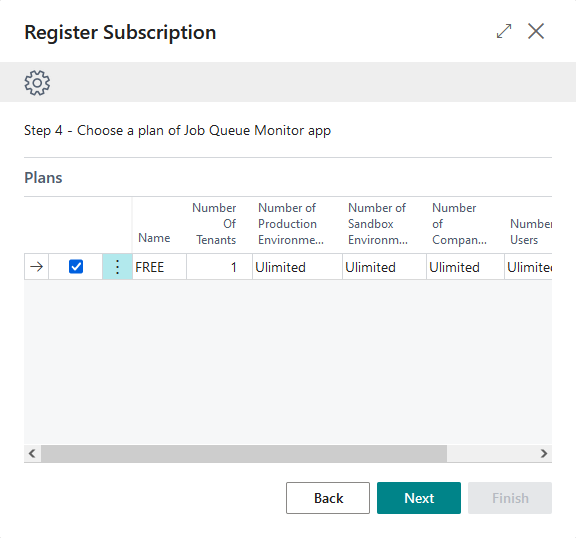
On the next step select plan you want to subscribe. Subscription is only for one Production Environment, rest unlimited.
On the last step you can review all data collected by wizard, which will be used for subscription registration.
Confirm to finalize registration.
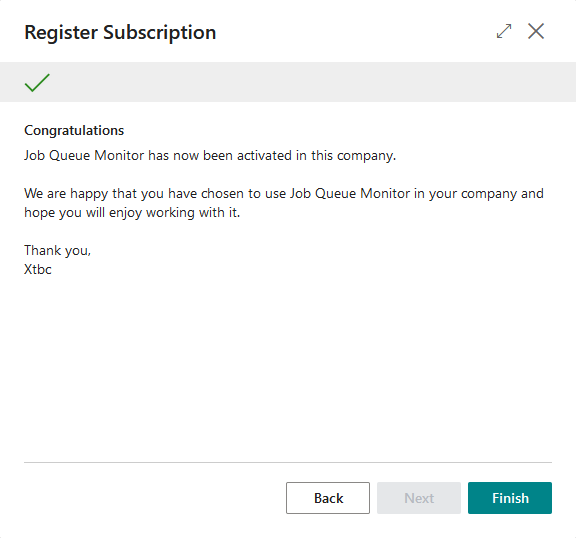
When wizard is finished, role center will be reloaded to refresh subscription status.
Set up Job Queue Notifications
Hint
This setup is common for all BC companies inside one BC environment. Thanks to this, when the new company will be created in the future, the additional notification setup is not required.
Search the Job Queue Notification Codes and open the page.

After registration is done the default code for tracking of job queue errors is automatically created as below. This code is marked as Default, what means that it will be applied for all job queue entries (existing and added in the future) automatically.

The ERROR code is set-up with an option Send notification on Status = Error, thanks to this when job queue will crash, then it will be called and create notifications.
Setup the Notification Recipients for Notification Code ERROR (setup is required for each of notification code).

On this page just select the users from the user list and set up the Notification Channel – by default the Role Center notifications are activated. It is also possible to select notifications Role Center & E-mail to receive notifications in both ways.

After the recipients are added, system will send notifications in case of job queue error.
Important
For e-mail notifications there is one step more required to set up, described in the next point.
Set up Email Scenario
Important
This setup is required in all BC companies, as it is part of standard BC functionality. The scenario assignment has to be done in each BC company separately.
Search and run page Email Scenario Assignment.

At the beginning it is required to set up the Email Account.

Select the email account for notifications and run action Assign scenarios.

Search and select the Xtbc - Job Queue Monitor scenario.
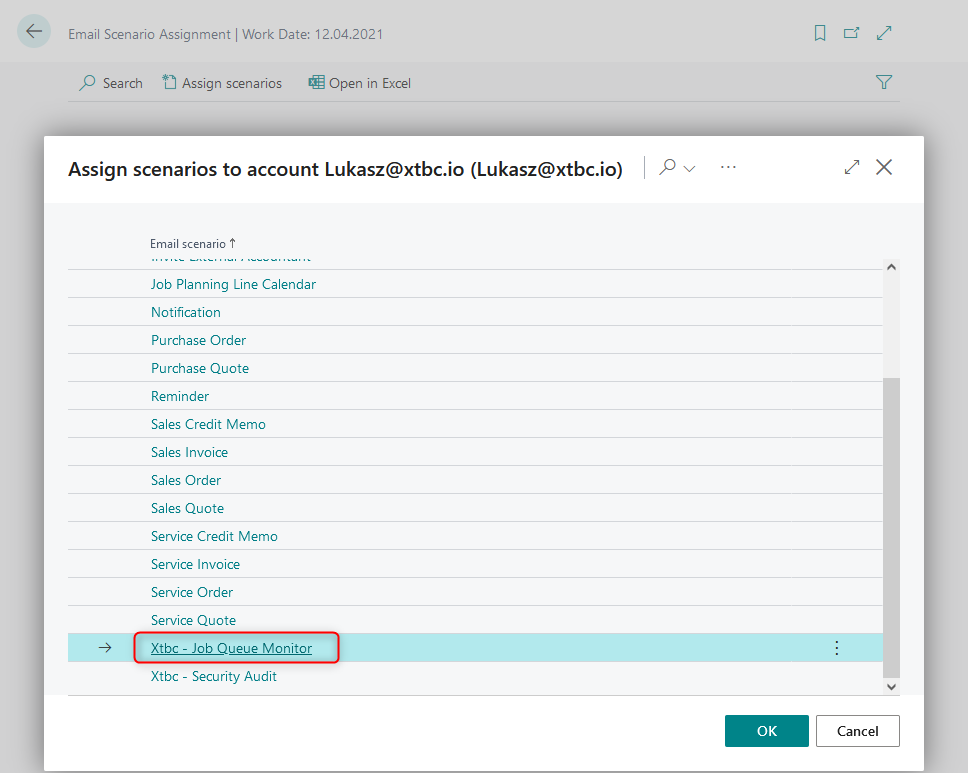
The setup for e-mail notifications is ready.

Receive a notification by Role Center
From the Role Center notification you are able to restart job queue in case of error, go to the job queue card or dismiss to hide the notification.

Receive a notification by E-mail
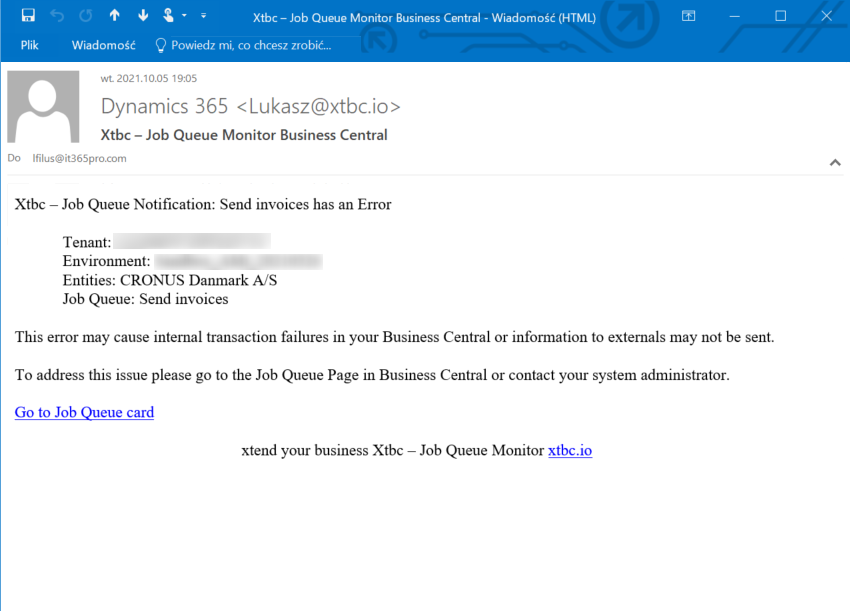
Once you have set up the notification channel including e-mail, you will receive e-mail as below.
Advanced setup of Job Queue notifications
There is an additional feature which allow to set up different notification codes for different job queue entries. Additional notification codes can be addressed to different recipients or can be called on different Job Queue statuses.
Search the Job Queue Entries and open the list.

Select the Job Queue entry which you would like to set up and press Edit.
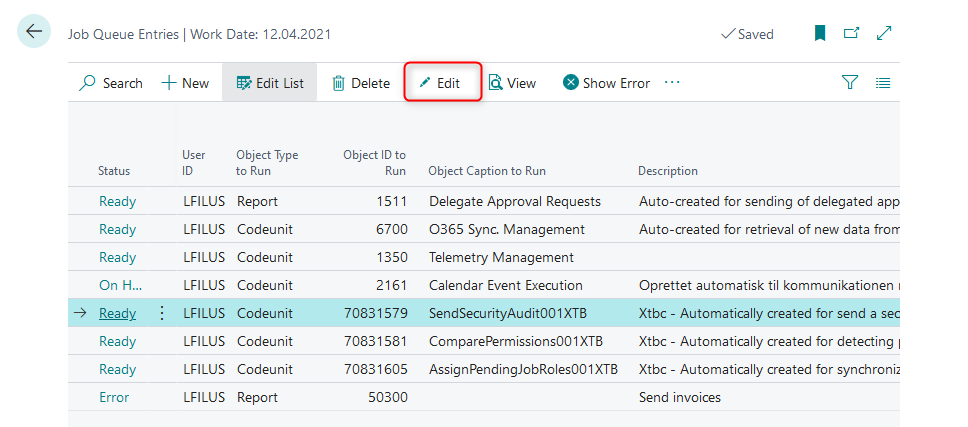
On the Job Queue Entry card, there is an additional tab Job Queue Monitor with field, where you can indicate specific notification code.
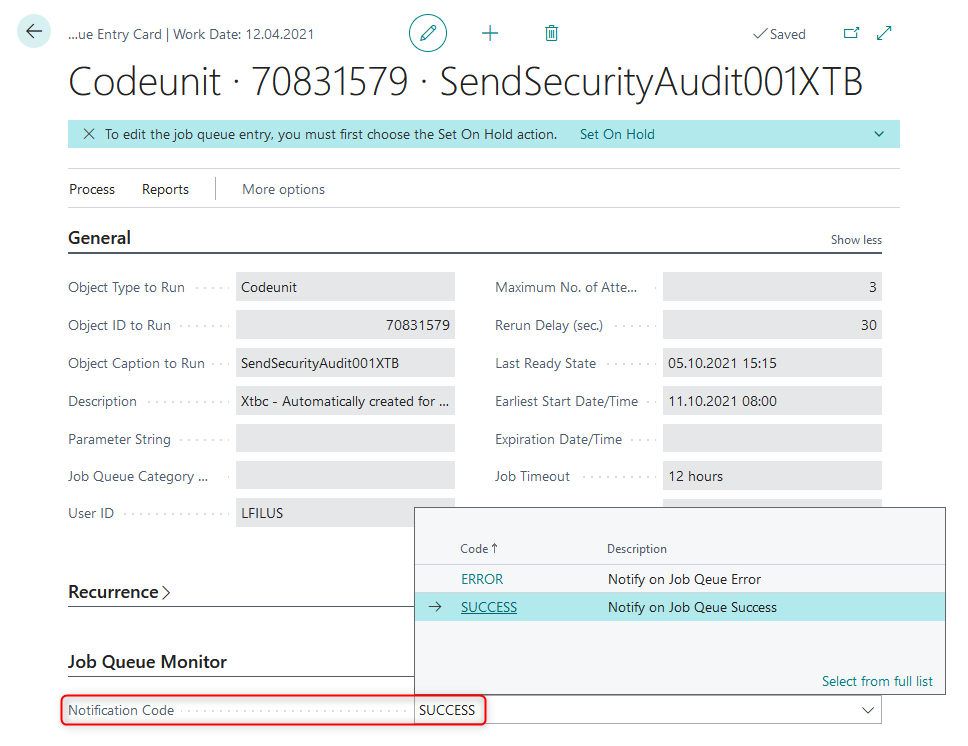
Important
After set up specific notification code on job queue entry, only selected notification code will be called for this job queue entry. In this case the default notification code will be no longer used for this single job queue entry.